How to transform a laptop into a desktop computer so that it is nice and convenient - a step-by-step guide
Ok, a laptop as a desktop computer performs worse than a real desktop computer. But sometimes you have to deal - how to turn a laptop into a desktop computer?
I have been working on the MacBook Pro 16 for two months. You can read more about this machine and how it works as a desktop and as a laptop here:
- I was delighted and irritated alternately - this was my month with the MacBook Pro 16
- MacBook Pro 16 is a fantastic laptop, a terrible desktop
I remember the time when as a student I used the old Thinkpad T530 as a desktop computer. I can't say that I would remember the look of my desk at that time ...
The laptop was then like a tarantula. They constantly protruded from it:
- power supply cable
- HDMI cable
- speaker cable
- keyboard and mouse cables
- ethernet cable (because Wi-Fi was terrible)
In addition, the whole was on a cooling pad, because the laptop was mercilessly warming up.
Then I used the MacBook Air for several years as a desktop and although it was a slightly more elegant solution, it was far from ideal. Three cables were still needed:
- power supply (RIP MagSafe connector)
- miniDP cable
- speaker cable
When planning to transform the MacBook Pro 16 into a desktop, I set myself a simple goal - one cable should connect it to all peripherals. And so I did.
Laptop as a desktop - does it make sense?
Of course. Although desktops generally perform better during long-term work under load, using a laptop both at home / work and on the road makes a lot of sense.
First of all, it makes economic sense. If we already have one mobile computer that meets our requirements, why should we buy another one that would do the same without moving from the desk?
It is also hard to overestimate the convenience of having one machine that we take with us everywhere. You don't have to remember to transfer files between computers, we always have everything with us - at home, at work, in the field.
Modern laptops, even those 13-inch ones, are more than enough powerful that most people can easily replace a desktop computer. And even those more demanding users, if they just bought a suitably powerful laptop, they will not feel the difference between a laptop and a comparable desktop computer.
I will also add that if we do not have the opportunity to put a desktop computer under the desk and we need to hold it on the desk, then the laptop in this system looks incomparably more elegant, and if we use it with the flap closed, it also takes incomparably less space.
I am currently testing a fantastic sitting / standing desk from the Polish company Deskwise (reviewed soon!) And the configuration with the MacBook Pro 16 looks much better than a large stationary, occupying 1/5 of the surface of the countertop.
Laptop as a desktop - how do you go about it?
Although this text mainly applies to Apple computers, similarly you can configure any laptop equipped with a Thunderbolt 3 connector, or at least USB-C.
The only thing that may go wrong is the matter of a single cable - Windows laptops (especially those of similar caliber as MBP 16) usually require more power than can be transmitted by the USB Power Delivery protocol.
So you will need to connect two cables.
Step one is the docking station
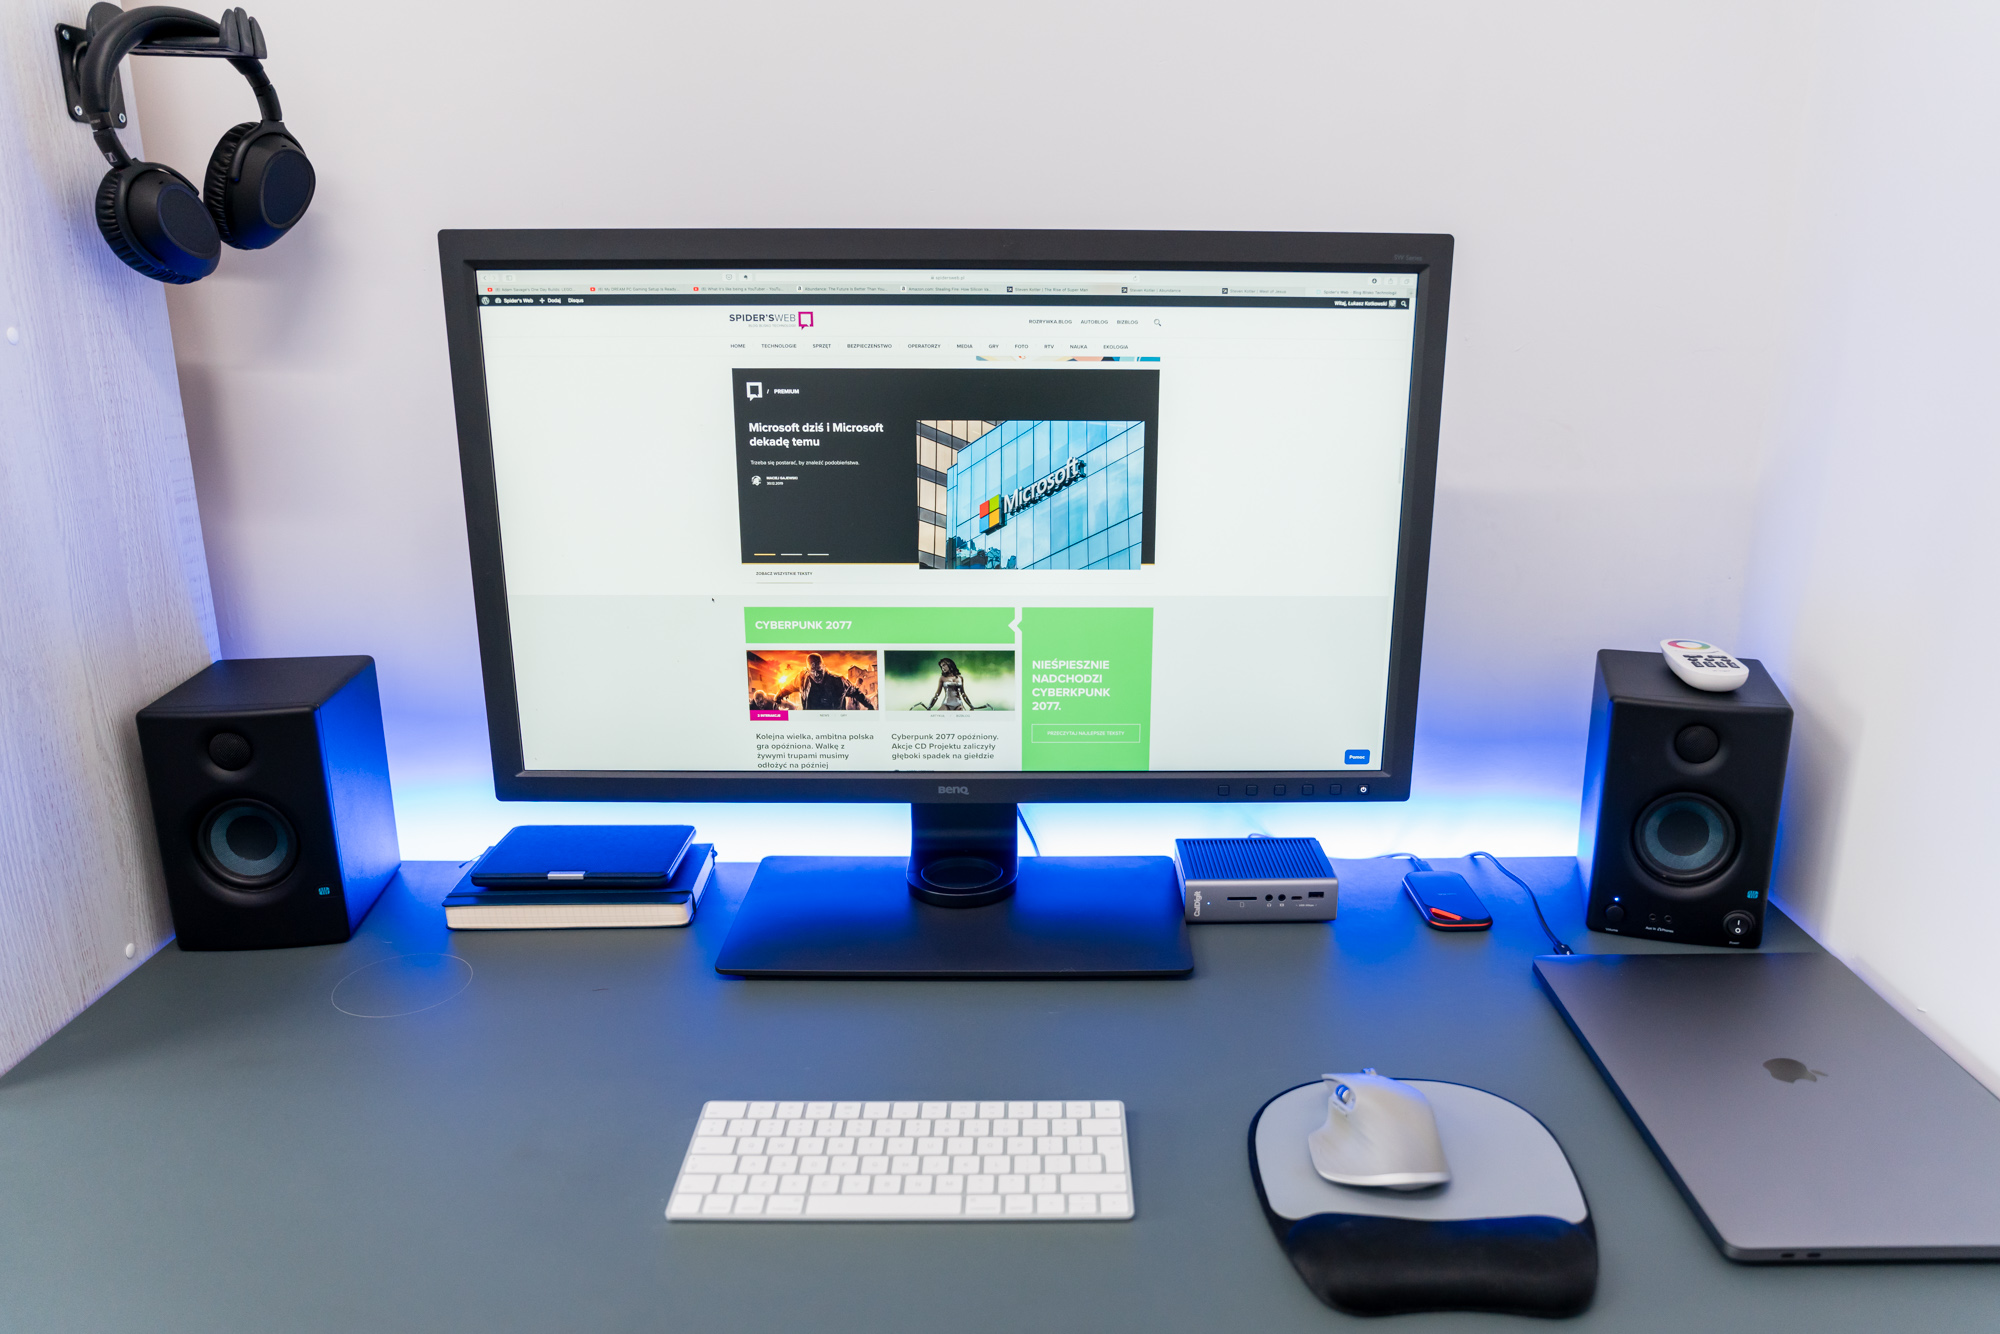
If we want to achieve a laptop connection to accessories with one cable, it will be difficult to do it differently than a dedicated docking station. You can be tempted to buy a monitor that will serve us as a docking station, but there are two problems - there are few monitors that are able to give more than 60 W of power to a laptop, and those that can do it are terribly expensive. The Thunderbolt 3 / USB-C docking station is definitely a cheaper option, and we can use the monitor we already have.
Personally, I'm not going to part with my BenQ SW320 , so all the more I needed a solid external solution.
Initially, I looked at a very interesting device from Lacie: a 2big disk, which is both a DAS and a docking station. However, Lacie 2big has a fairly limited set of expansion ports. After connecting the MacBook, I would have only one TB3 port, one USB-C port, a DisplayPort socket and a USB-A socket on the front of the case, next to the memory card slots.
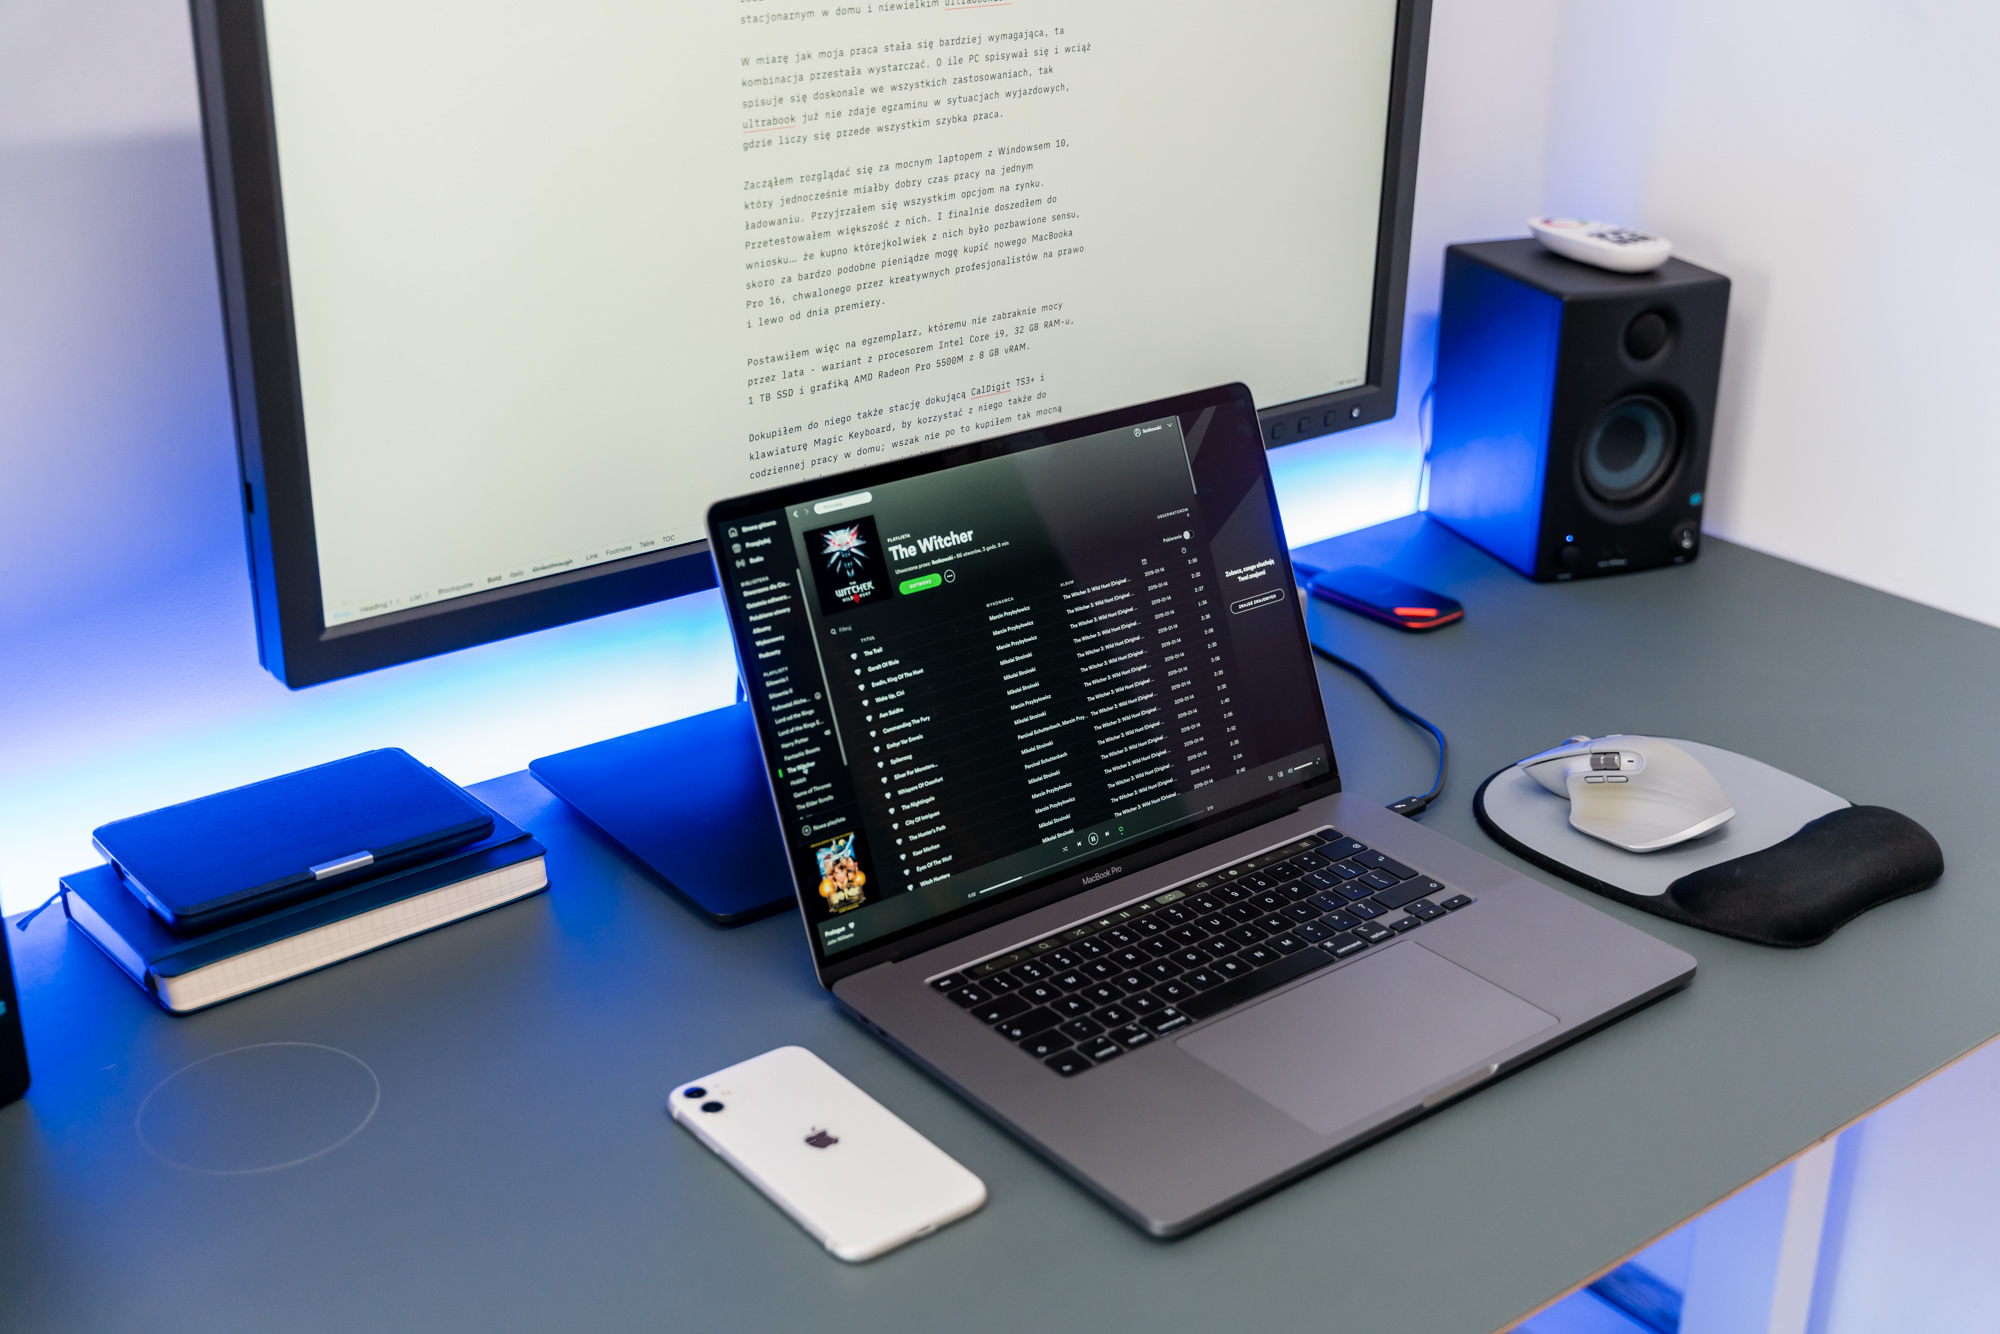
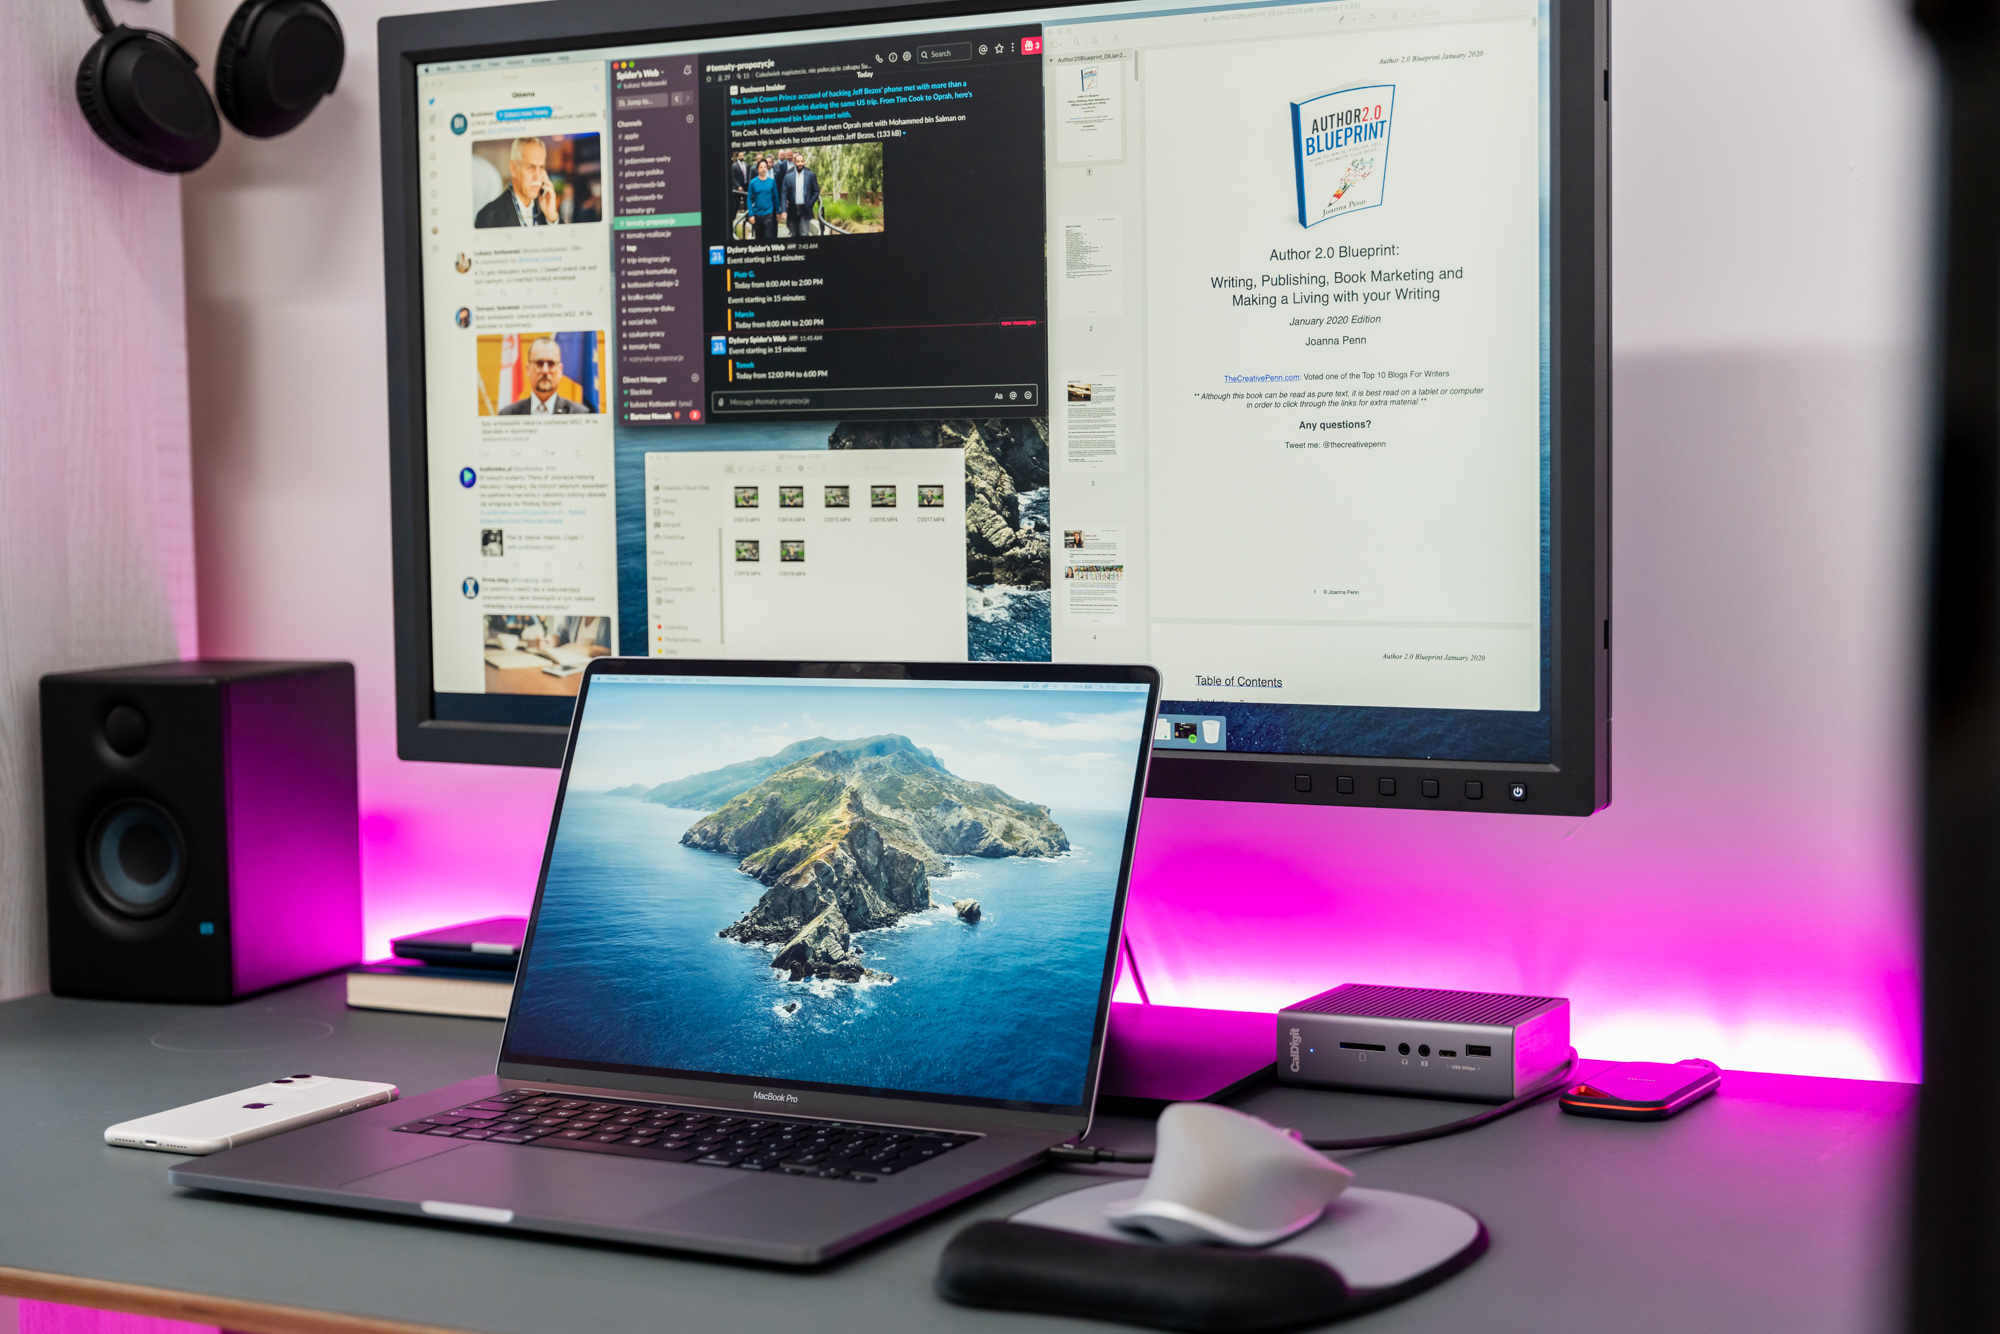
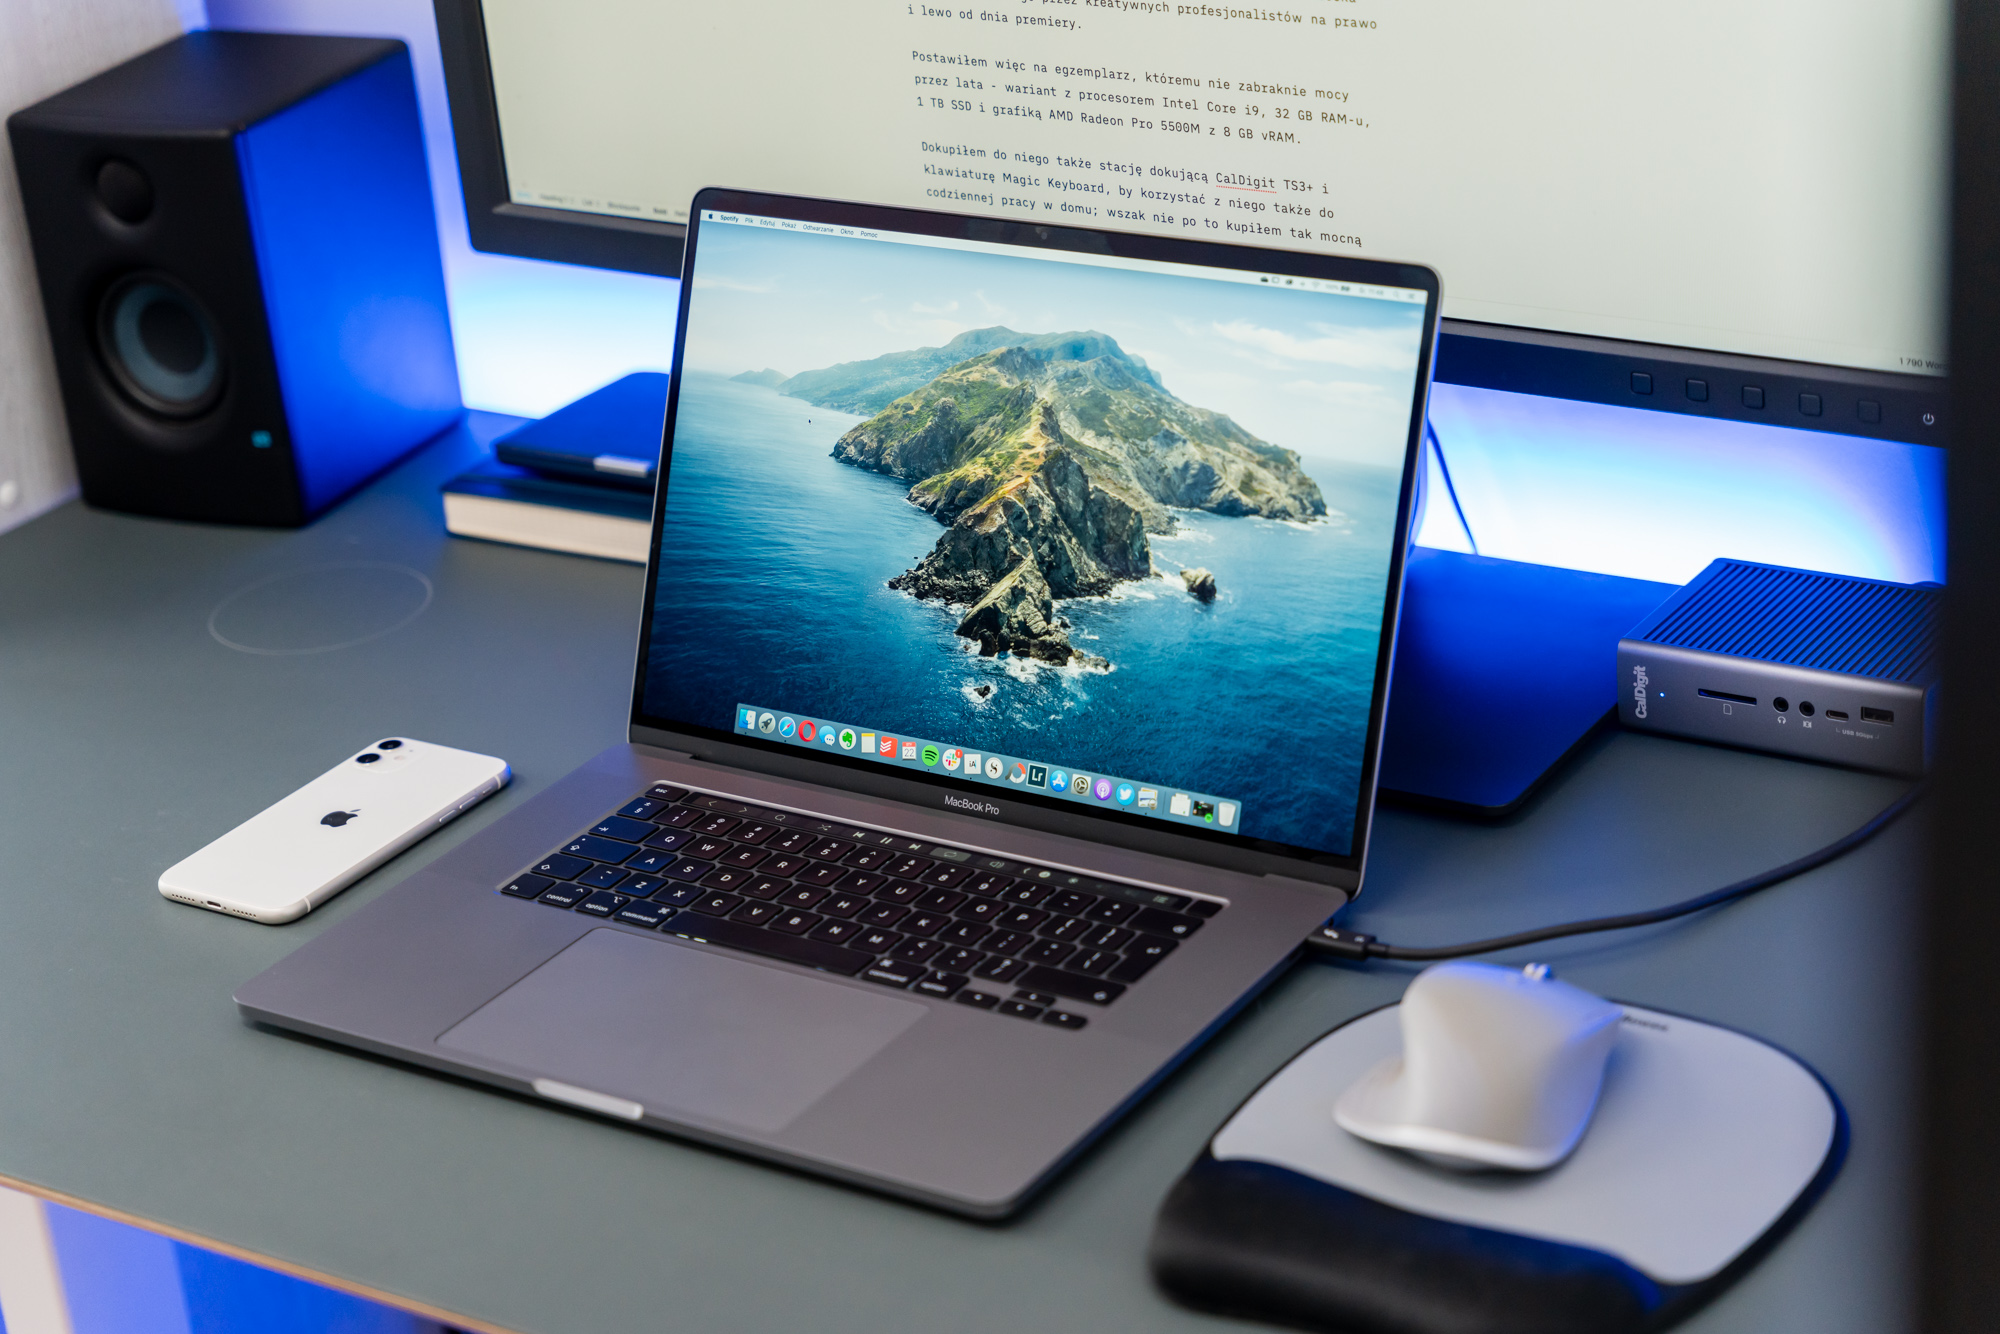
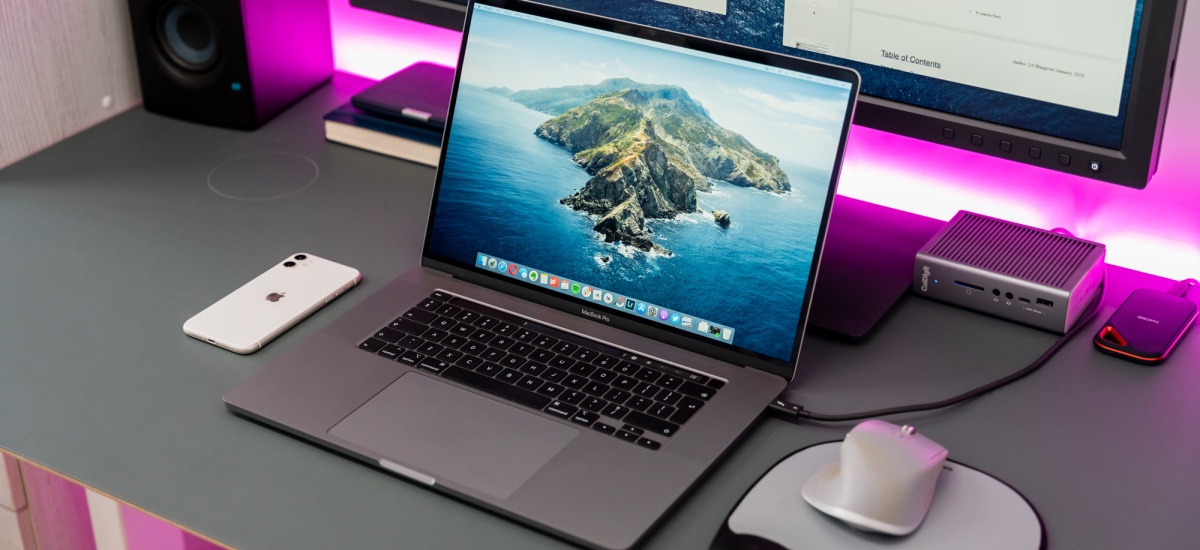
So I put the CalDigit TS3 Plus docking station, which may not have a built-in disk, but has more ports.
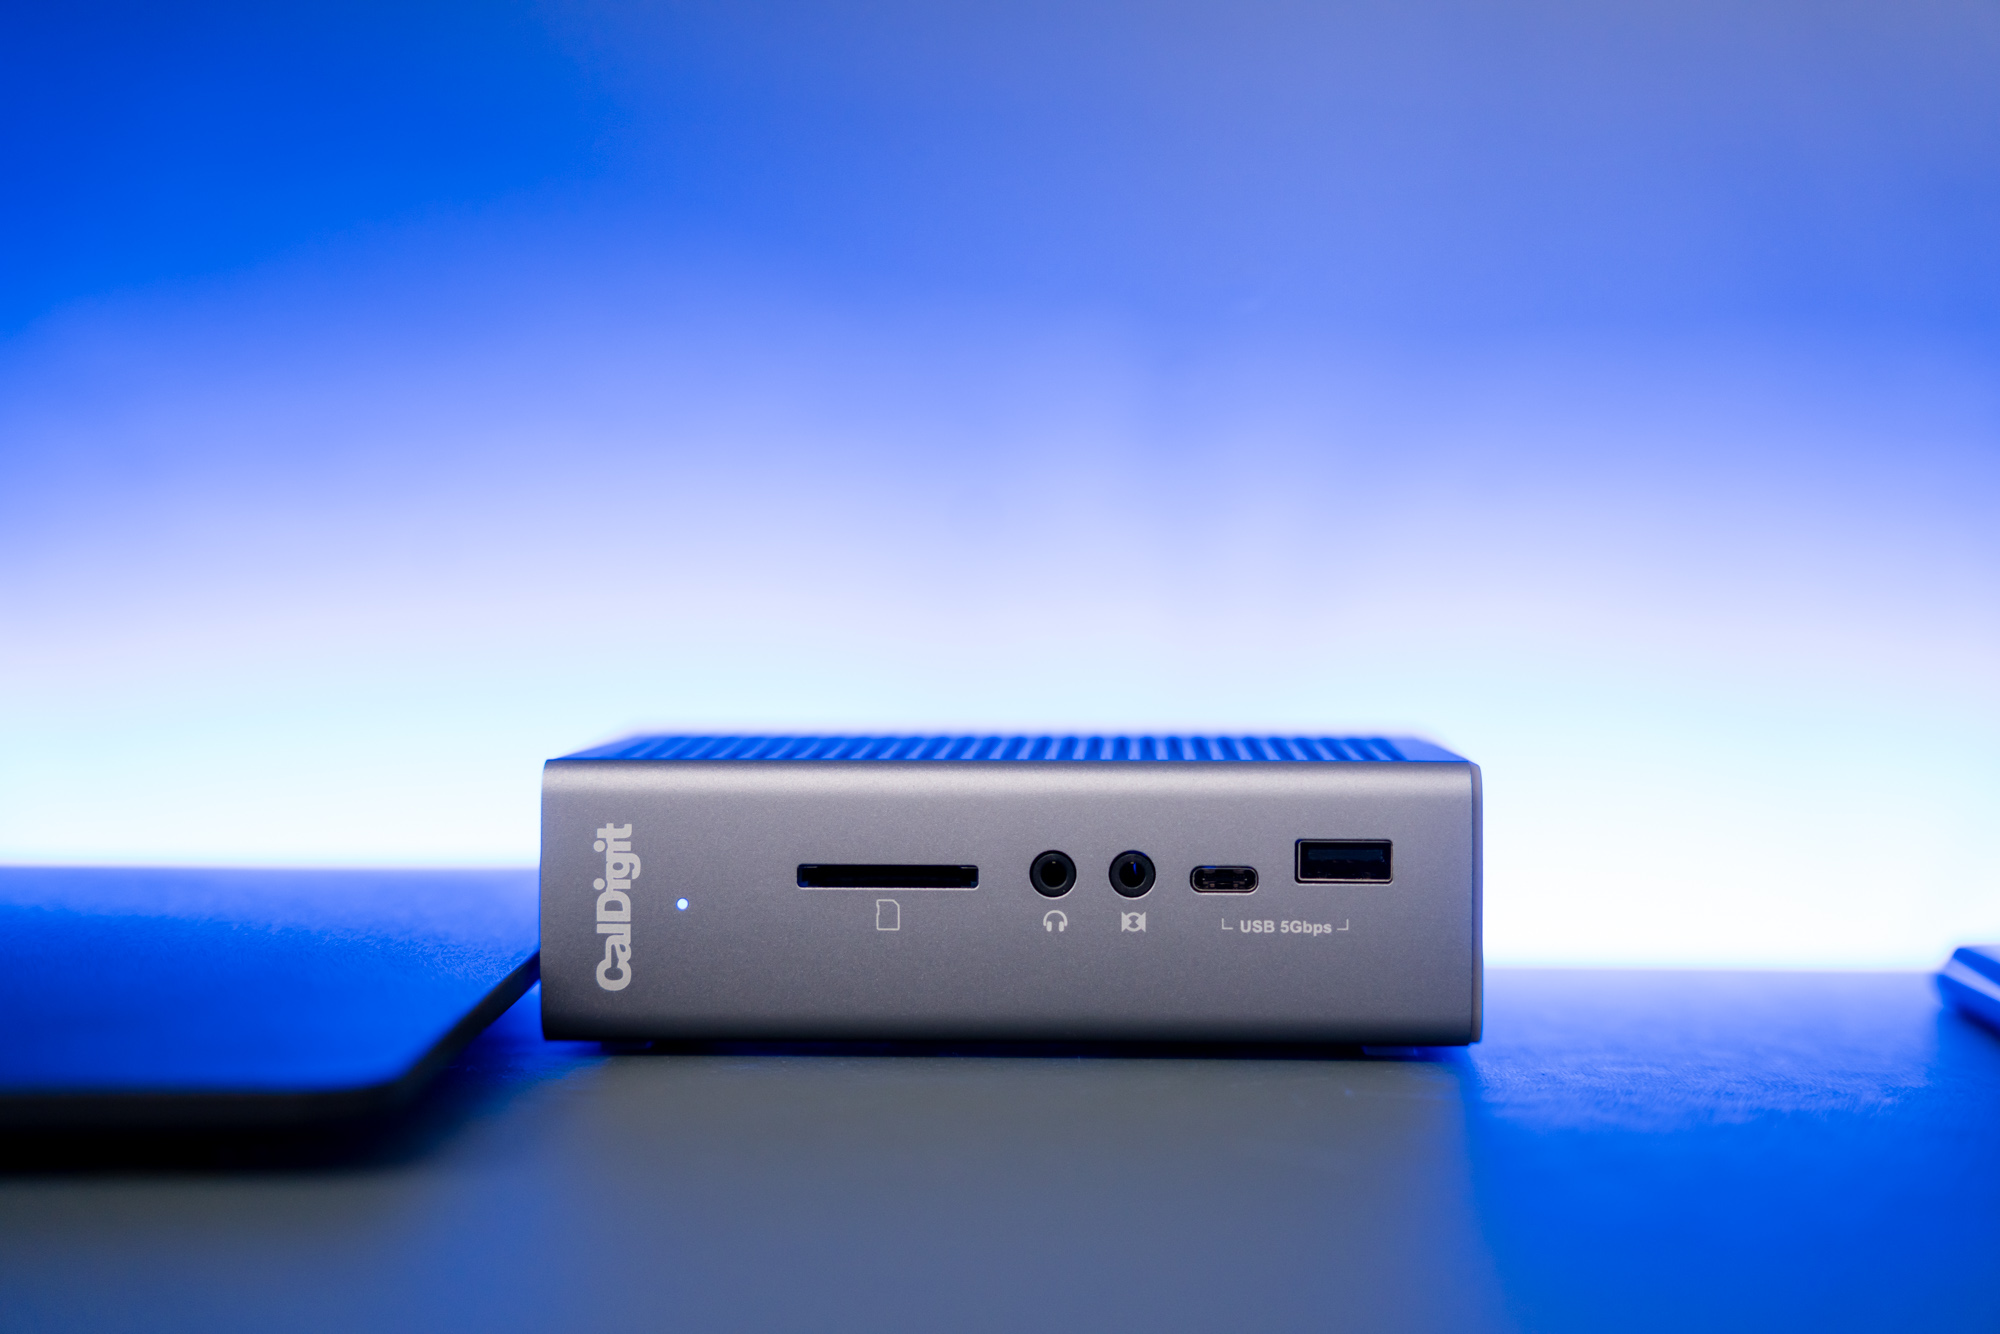
On the front I have convenient access to the SD card slot, headphone, microphone and two USB ports - one C one A.
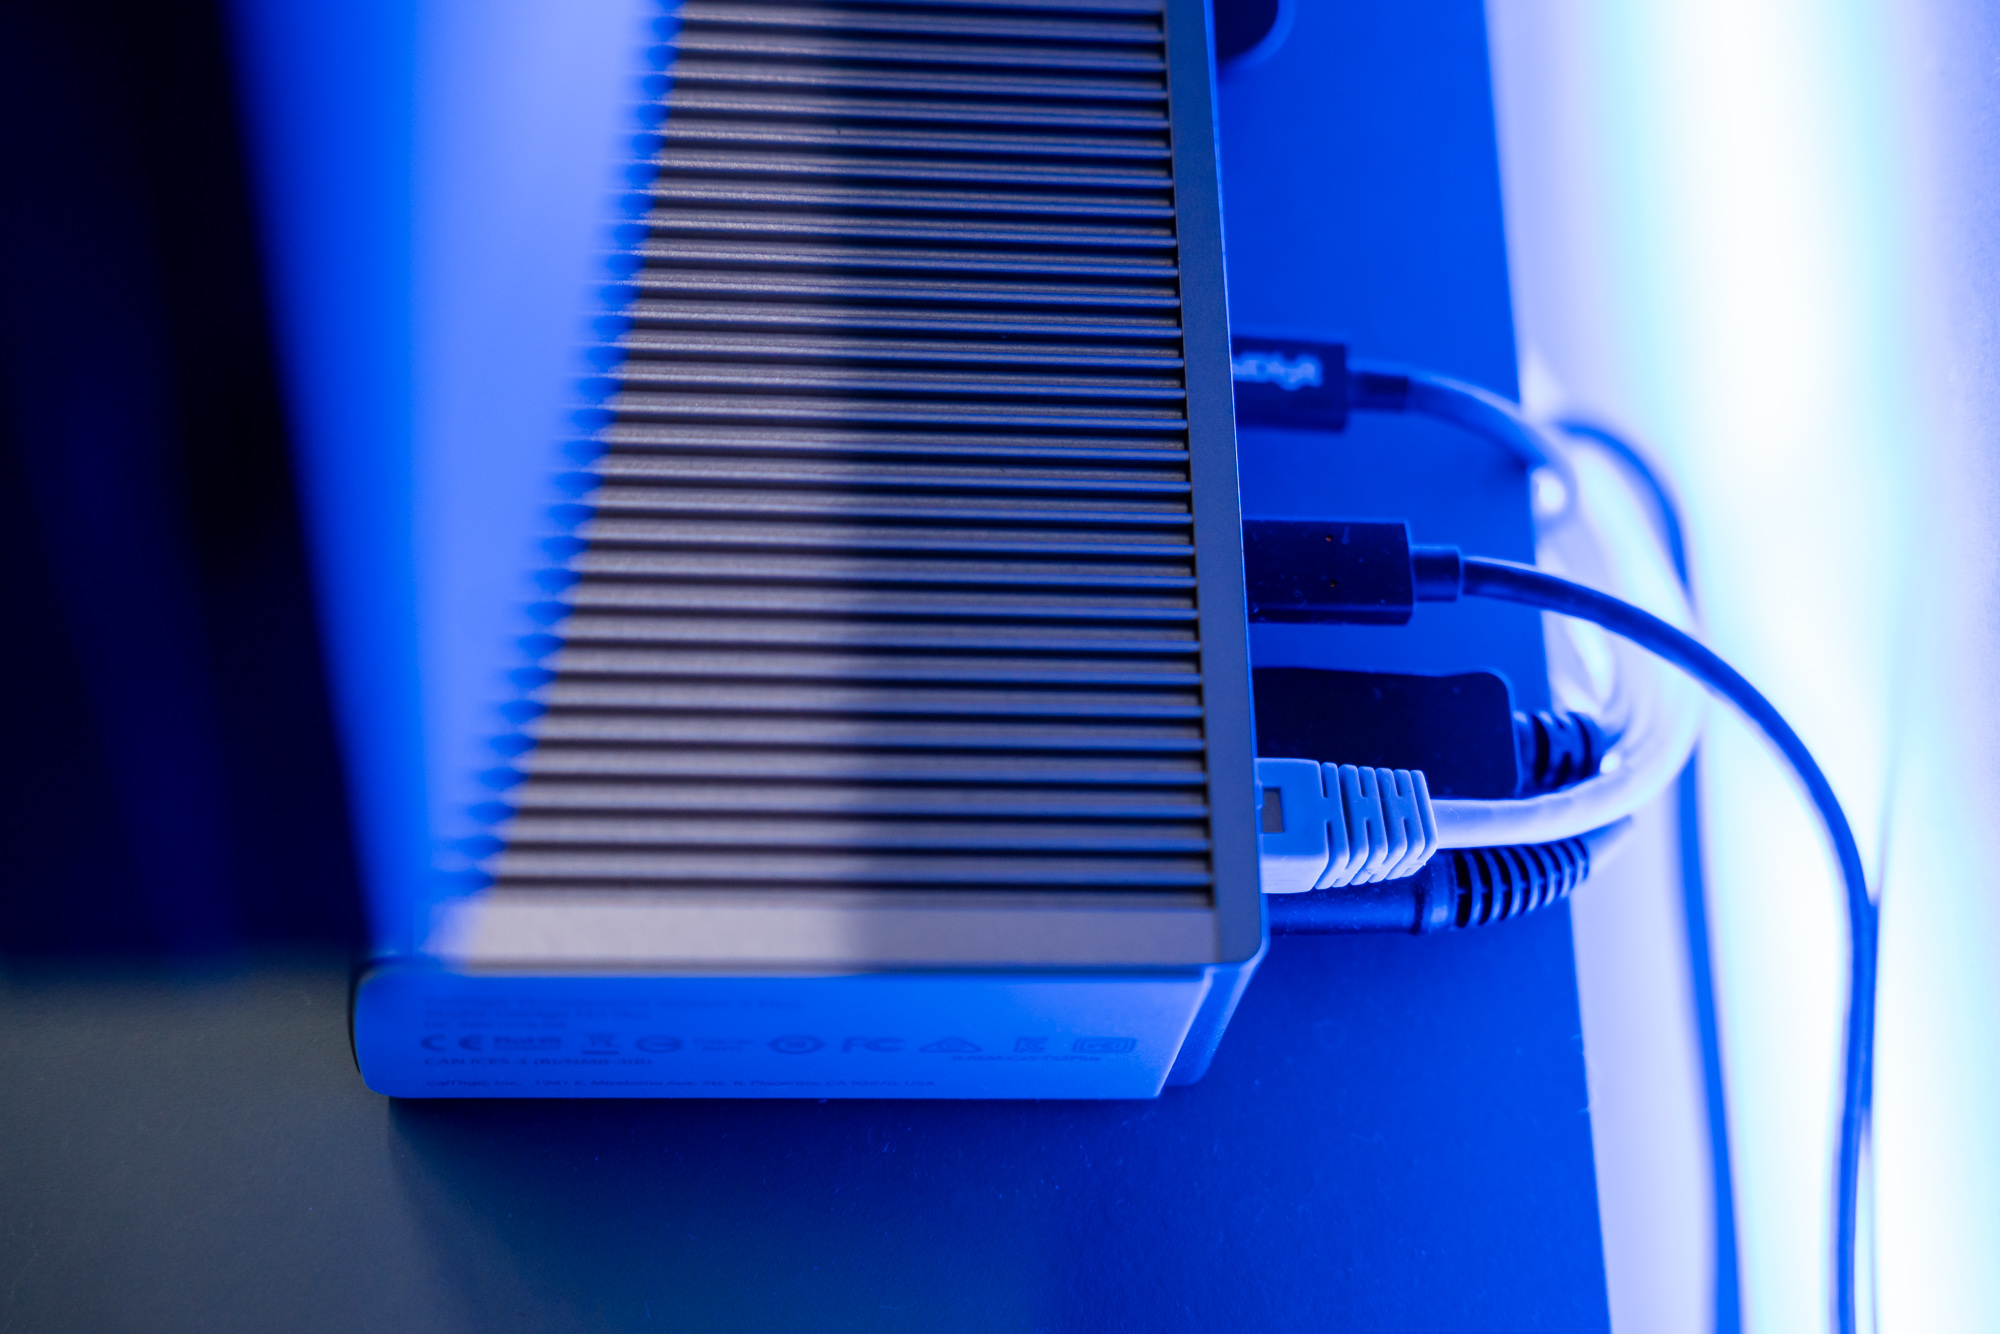
It's much more interesting at the back. We will find here another USB-C port with a bandwidth of 10 Gbps, a Thunderbolt 3 connector, four USB-A 5 Gbps ports, a Display Port, an optical audio connector and a very important thing for me - the RJ-45 port.
I wanted to connect to the Ethernet socket because I have an 1Gbps Orange Fiber Optic cable connected at home. Through Wi-Fi, I was able to reach a maximum speed of 450 Mb / s, which is more than twice lower. The cable was therefore a must.
The CalDigit docking station is doing great so far, although it lacks an additional 3.5mm connector on the back of the case. As a result, I can't connect the speakers to it without disturbing the desktop feng shui (I connect them instead to the monitor socket).
CalDigit TS3 Plus can't deliver the full 96W of power that the MacBook Pro 16 gets from its factory charger, but it delivers 85W, which is enough.
Step two is of course the monitor
You can connect a docking station to your laptop to get more expansion ports and use it as a laptop, but it is much better to connect an external, larger monitor to it.
Here, the choice is already a fully individual matter. I have chosen a professional graphic monitor, who will choose an ultrawide monitor or a panel with a high refresh rate.
It is worth making sure, however, whether the docking station selected by us (and our laptop, by the way) supports the parameters of a particular monitor or a given type of cables.
In my case, it turned out that the MacBook Pro, probably due to the operating system, does not like the Display Port 1.4 cables that the docking station supports. For nothing, I couldn't maintain a stable connection with the monitor using this cable, although it worked seamlessly with my PC and other laptop.
The solution turned out to be changing the cable to Display Port 1.2. All problems disappeared as he took it away.
I will also add that in the case of Apple computers it is worth a little more consideration of choosing the size and resolution of the monitor. I already explain.
Unlike Windows 10, where interface scaling has no effect on the smoothness of the computer, on macOS the interface is scaled at either the default monitor resolution or at a scaled resolution. When we use the second output, the system renders the image in twice the resolution of the scaling resolution - that is, if the image looks like a 2560 x 1440 px monitor, then de facto macOS renders it in 5120 x 2880 px resolution.
This means that inappropriate scaling can significantly slow down our computer, but also that the image on some monitors may not look good.
On a 32 "monitor, the native 4K interface is too small to be able to use it comfortably. Scaling to 3008 x 1692 looks perfect, but then the resolution is too high to render even for a MacBook Pro 16.
The least scaling up to 1920 x 1080 px looks tragic on a 4K monitor - everything is too big. So 2560 x 1440 px scaling remains, which is not perfect, but it is a good compromise.
On a 27 "4K monitor or 34" ultrawide monitor this problem would not exist. Just like it would not exist on a monitor with Full HD resolution.
When choosing a panel for a Mac, it is worth making sure that it best matches the macOS interface. It is not without reason that LG Ultrawide dedicated monitors have the same diagonal and resolution.
Step three (optional) - connect the keyboard, mouse and speakers
This step is optional, because we can always work on a laptop with an open flap, placing it in front of the monitor. Then we use the laptop's built-in keyboard and trackpad, and we can even use the built-in speakers if we so desire.
However, this solution is not the most ergonomic in the world. It is better to set the laptop aside and - regardless of whether you work with the lid open or closed - connect dedicated accessories.
Personally, I use wireless peripherals, because I often slide them around the desk and remove them from it for the purpose of taking photos. When it comes to the mouse, I chose Logitech MX Master 3 , while for the keyboard I chose the Magic Keyboard of the second generation. While the Logitech mouse works like gold (although after a few months the gray version begins to ugly discolor ...), so the keyboard is at most average.

I would much prefer Logitech MX Keys to a Mac, but unfortunately the designers placed the right cmd key in it not next to the space, but at the height of the right index finger. Entering Polish characters is therefore extremely inconvenient.
If we have a docking station equipped with a sufficient number of ports, we can be tempted to connect wired peripherals. This will certainly be appreciated by players who will want to connect decent mechanical keyboards and mice either wired or wireless to their gaming laptops requiring a USB dongle to connect.
A fully individual audio issue remains. I know people who are completely satisfied with the sound of the speakers built into the monitor (and I am surprised that we are still friends ...). I also know people who don't use speakers at all and use only headphones.
Personally, however, I need to have a few good speakers on my desk, because I like listening to music while working. Some time ago I replaced my worn Edifiery RT1280 with active monitors Presonus Eris E3.5 and ... I love them a little, I hate them a little. I love how they sound - at this price I have not heard better playing speakers. I hate the fact that they are not properly shielded, so if I put the phone on them, then each connection is preceded by a short "tyty tytyty", as if it were 99 'again. Needless to say, they will be the first item to disappear from my desk this year.
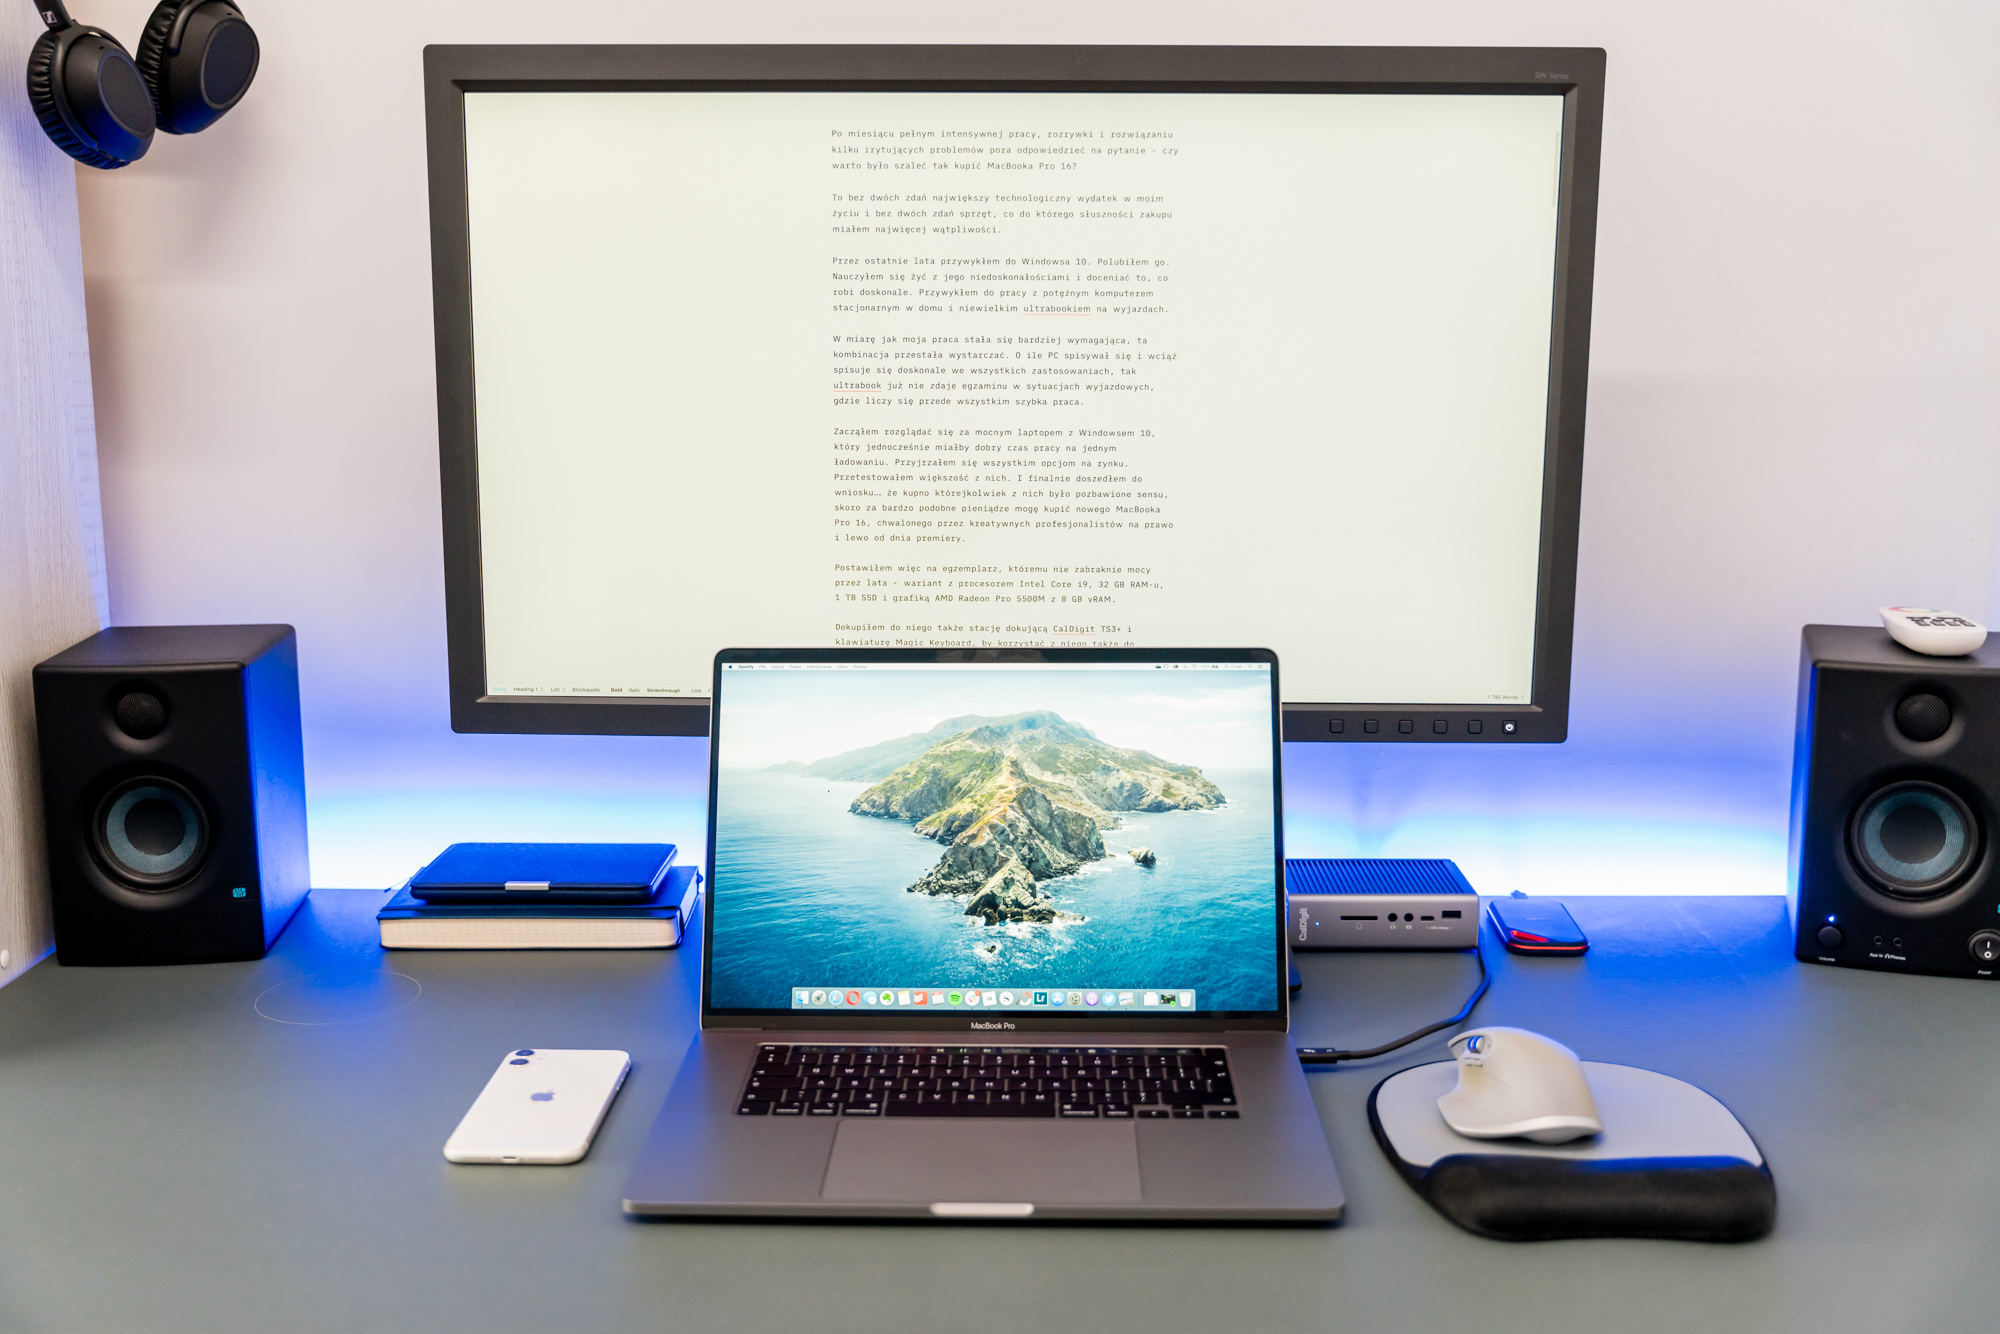
Apple computer users can also use Bluetooth wireless headphones, such as the Sennheiser PXC 550 II , which I am currently testing. Owners of computers with Windows 10 have less luck here - Bluetooth audio works so whimsically that most Bluetooth wireless headphones either do not connect to Windows 10 at all, or work to a very limited extent. Therefore, wired headphones or headphones are connected using the USB adapter.
Step four - connect whatever you want
For me, the biggest advantage of a desktop computer was the convenience of connecting any number of accessories, without worrying about the lack of connectors.
When we decide to turn a laptop into a desktop, we are necessarily limited by the number of ports that either the laptop itself or the docking station has.
Here, however, you can always find a way out. If the docking station has too few sockets, you can always connect an additional port replicator.
In addition to the peripherals mentioned above, I regularly connect at least two things - memory cards and external drives.
The MacBook Pro 16 has no built-in SD card slot, so the socket on the CalDigit TS3 Plus station is a godsend.
1 TB of built-in SSD is also not enough for everything, so the docking station is almost always connected to an external SSD drive, which plays the role of the so-called "Scratchdisk", which is a working disk for video or photo processing. Currently, this role is performed by SanDisk Extreme Pro SSD with a capacity of 1 TB, which I am currently testing.
I also connected an external DAS with HDD to the PC for backup purposes. But as the mechanism of disk disconnection in macOS is extremely annoying ("press eject before removing the disk" - what year is it ??), this role is played by my silent NAS from Qnap . Due to the fact that the MacBook is connected to the router with a cable, the files are transferred to the network drive in a flash.
In this way, I provide backup in three places - one on the built-in Mac disk, one on the external disk in the event of a computer failure and one in the OneDrive cloud, in the event of a real accident (theft, fire, etc.).
Step five - control your mess
The last step, when we connect all the gadgets to the laptop, is to make the whole look quite aesthetically pleasing.
If you work with the laptop lid open, it is good to take care of some stand. This solution has at least two advantages - it puts the laptop screen in a more ergonomic position, on a par with the monitor, and frees up space on the desk.
Of the solutions that I have personally tested, I highly recommend the inexpensive, adjustable Millenium Laptop Stand. It's a simple but solid metal construction that provides the laptop with adequate airflow. The stand is also completely covered with rubberized material in places of contact with the computer, so there is no fear that we will accidentally scratch the laptop case.

The stand is also available in the form of an arm attached to the desk top - for those who want to save as much space as possible.
If you are working with the flap closed, it is also good to find a stand, thanks to which we will place the laptop vertically so that it takes up less space.
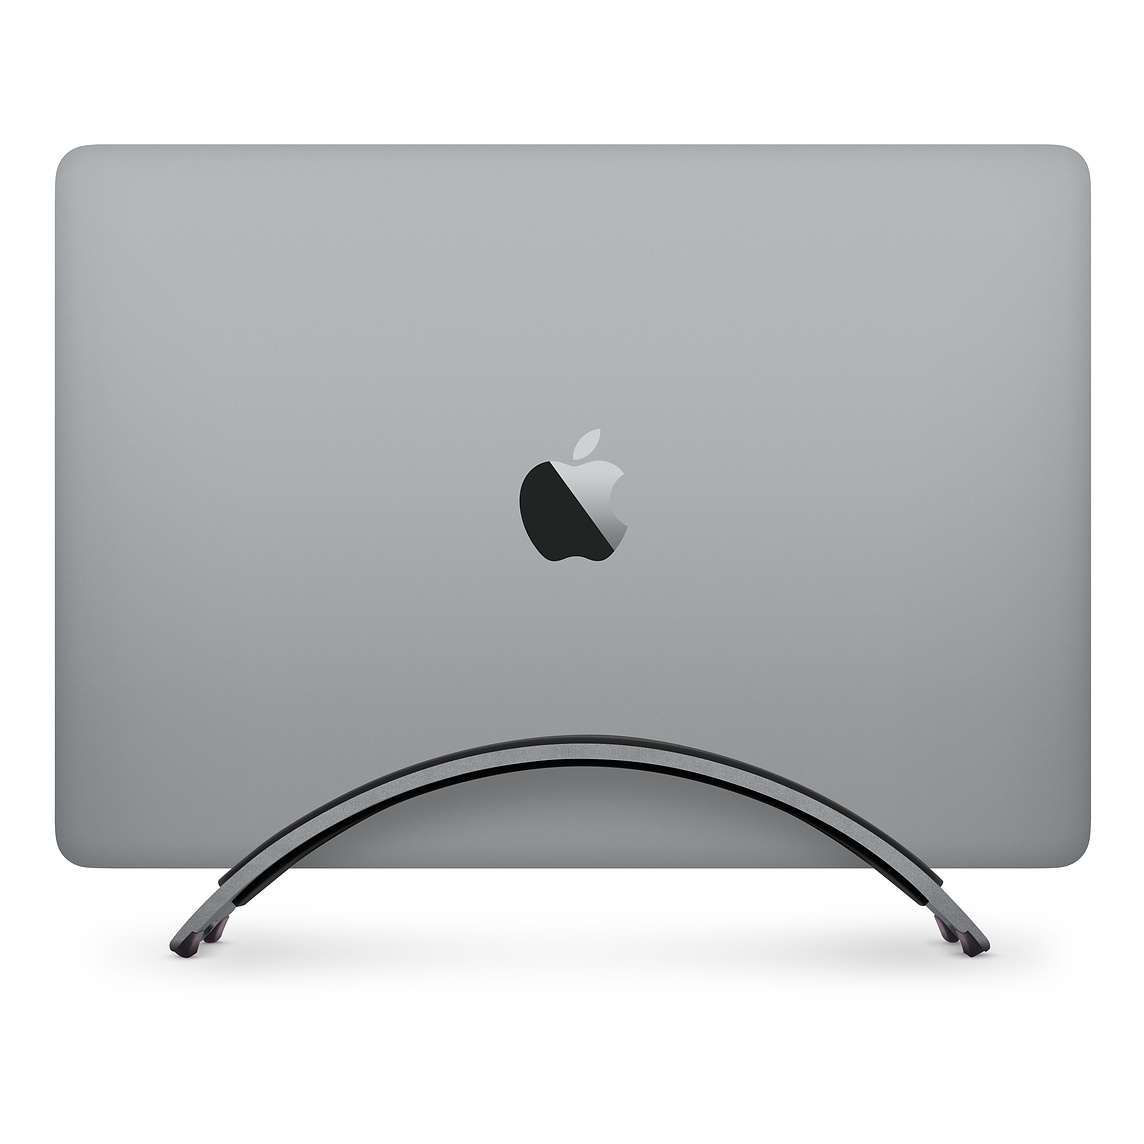
So far, I put the laptop closed on the edge of the desk, but ultimately I would like to place it on a stand like Twelve South BookArc, which keeps the laptop vertically without blocking the air outlet (such as aluminum handles).
A laptop is not just a portable computer.
It's just a computer. The one that can at any time become a home entertainment center or the main work tool, connected to the necessary accessories.
Nothing new. I used to use a laptop this way almost 10 years ago. Only recently, however, thanks to the Thunderbolt 3 port, it is possible to connect all peripherals so conveniently while charging the computer with one cable.
And just as the laptop as a desktop was once a feasible option, but not particularly elegant, so today the roles have reversed - transforming a laptop into a desktop can be not only trivially simple, but also much more elegant than using a classic "stationary".
PS. A week after writing this text, unfortunately I had to disassemble the above setup and return to a good old desktop computer with Windows 10. Reason? Notorious MacBook Pro 16 overheating in tandem with the 4K monitor. You can read more about this problem in a separate text - the problem has existed for years and Apple does nothing with it. I thought changing the monitor's scaling would do the trick, but unfortunately it only slightly increased the warm-up time; after 3-4 hours of hard work, my (theoretically more powerful) MacBook was twice as slow as nearly two years old desktop. The moral of this - if you want to use a Mac stationary, better buy an iMac or ... MacBook Pro 13. Ironically, smaller laptops without a dedicated GPU have no problem with overheating.
How to transform a laptop into a desktop computer so that it is nice and convenient - a step-by-step guide


It was such a good post. Visit pc repair boca raton. Thanks for sharing.
ReplyDelete